This recipe is a quick no blender healthy baked oats recipe I know you and your family will love!
This post may contain affiliate links, which means I’ll receive a commission if you purchase through my link, at no extra cost to you. Please read the full disclosure here.
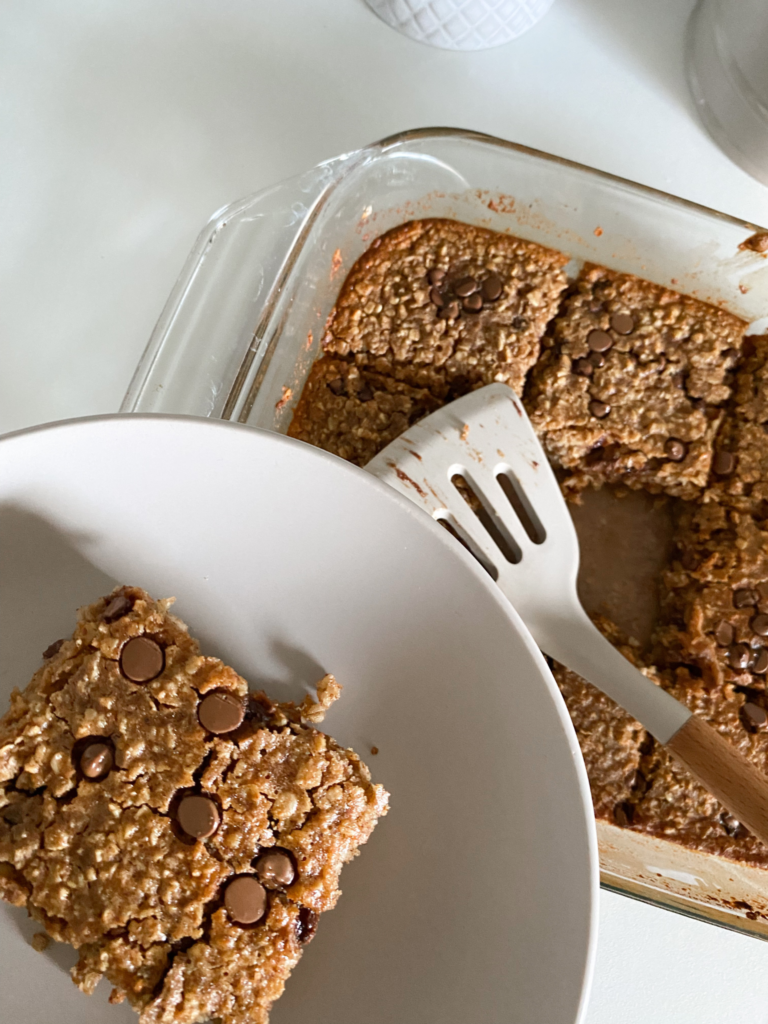
Last week I tried this baked oats recipe and… wow! Even my husband, who’s never been a fan of oats, went back for seconds. The whole tray disappeared by the next day.
If you love having something sweet after dinner that still feels like a treat, this recipe is a game changer. These healthy baked oats are soft, chocolatey, and so easy to make — just 5 minutes of prep and into the oven they go.
I love recipes like this because they’re naturally made with wholesome ingredients, and make a great snack/dessert. You can store them in the fridge for up to a week or freeze for up to three weeks, making them perfect for meal prep.
Whether you’re looking for an easy baked oats recipe, chocolate baked oats, or a healthy baked oats recipe without banana, this one will quickly become a favourite in your kitchen.
This post is all about a quick no blender healthy baked oats recipe.
Ingredients To Make This Easy Baked Oats Recipe
- Jumbo oats
- Milk: Any choice of milk you prefer. I use whole milk.
- Maple syrup: make sure it is organic and 100% maple syrup.
- Peanut butter: or any nut butter of your choice! Cashew butter would taste just as amazing
- Baking powder
- Ground cinnamon: adds extra flavour and also has many health benefits, such as reducing inflammation, a natural antioxidant, and could improve insulin response.
- Chocolate chips
Other Similar Recipes You May Also Love:
How To Make Healthy Baked Oats Without Banana
Instructions
- Preheat the oven to 180C
- Add all the ingredients to a pan, and mix it very well.
- If you are going to add chocolate chips instead of chocolate blocks, then mix in ⅓ cup or ½ cup of chocolate chips (totally up to you) and fold it in. And then add a few on top.
- But if you are adding chocolate blocks, then just place a few on top ( I usually place 1 for each slice- sometimes I cut into 6 slices or 8 slices. So that would be 6 or 8 chocolate blocks)
- Place the pan in the oven. Once it is cooked, let it cool down for 5-10 minutes before you dive in!
Why You’ll Love These Healthy Chocolate Baked Oats
- Quick and effortless – just 5 minutes to mix everything together, then let the oven do the work for 18–20 minutes.
- Minimal washing up – you’ll only need a few bits of equipment, which means less time at the sink and more time enjoying your baked oats.
- Meal prep friendly – make a batch, store in the fridge for up to a week or freeze for up to three weeks for a ready-to-go snack!
How To Store
- Fridge storage – once the baked oats are completely cooled, transfer them to an airtight container and refrigerate. This keeps them fresh for 5 days. When you’re ready to enjoy a slice, simply microwave for 30–45 seconds to warm it up.
- Freezer storage – place cooled slices in an airtight container or freezer bag, separating each slice with non-stick baking paper to prevent sticking. They’ll keep for up to 3 weeks. When you want one, defrost and then microwave for 30–45 seconds until warm.
Healthy Baked Oats
Equipment
- 1 9×9 or 11×7 baking pan
Ingredients
- 2 cups organic jumbo oats these have a low GI
- 1 1/2 cup milk of your choice
- 1/4 cup maple syrup
- 1/2 cup peanut butter or a nut butter of your choice
- 1 tsp baking powder
- 1 tsp ground cinnamon
- 1/4-1/2 cup chocolate chips (you can add any other toppings e.g nuts!)
Instructions
- Preheat oven at 180°
- Add all the ingredients into a baking pan
- Mix it all together until well combined
- Add your toppings on top (add a few more chocolate chips if you want or some nuts)
- Put in the oven for 18-20 minutes.
- Leave it out to cool for at least 10 minutes and enjoy!
- Make sure to store it in the fridge to keep it fresh (lasts 5-6 days)
This post was all about a quick no blender healthy baked oats recipe!
I hope you enjoy this recipe as much as we did!
Don’t forget to rate this recipe and leave a comment down below! I would love to hear what you guys think.
Make sure to follow my socials – Instagram, Pinterest, TikTok, Amazon Storefront, and LikeToKnowIt – for more healthy lifestyle content!
Lots of love, Mariam x
If you found this post helpful, please share it on Pinterest with others by clicking on the image and the Pinterest sign. Thank you!

Yes! No blender, few appliances, interchangeable mix-ins. Thank you for this, it’s exactly what I needed in my use-it-up, no-spend, moving-soon phase!
Hope you enjoy it! They make a great meal prep too – you can even freeze slices in the freezer and when you’re ready to enjoy just pop in the microwave for a minute or a minute and a half and they taste so good!